Introduction
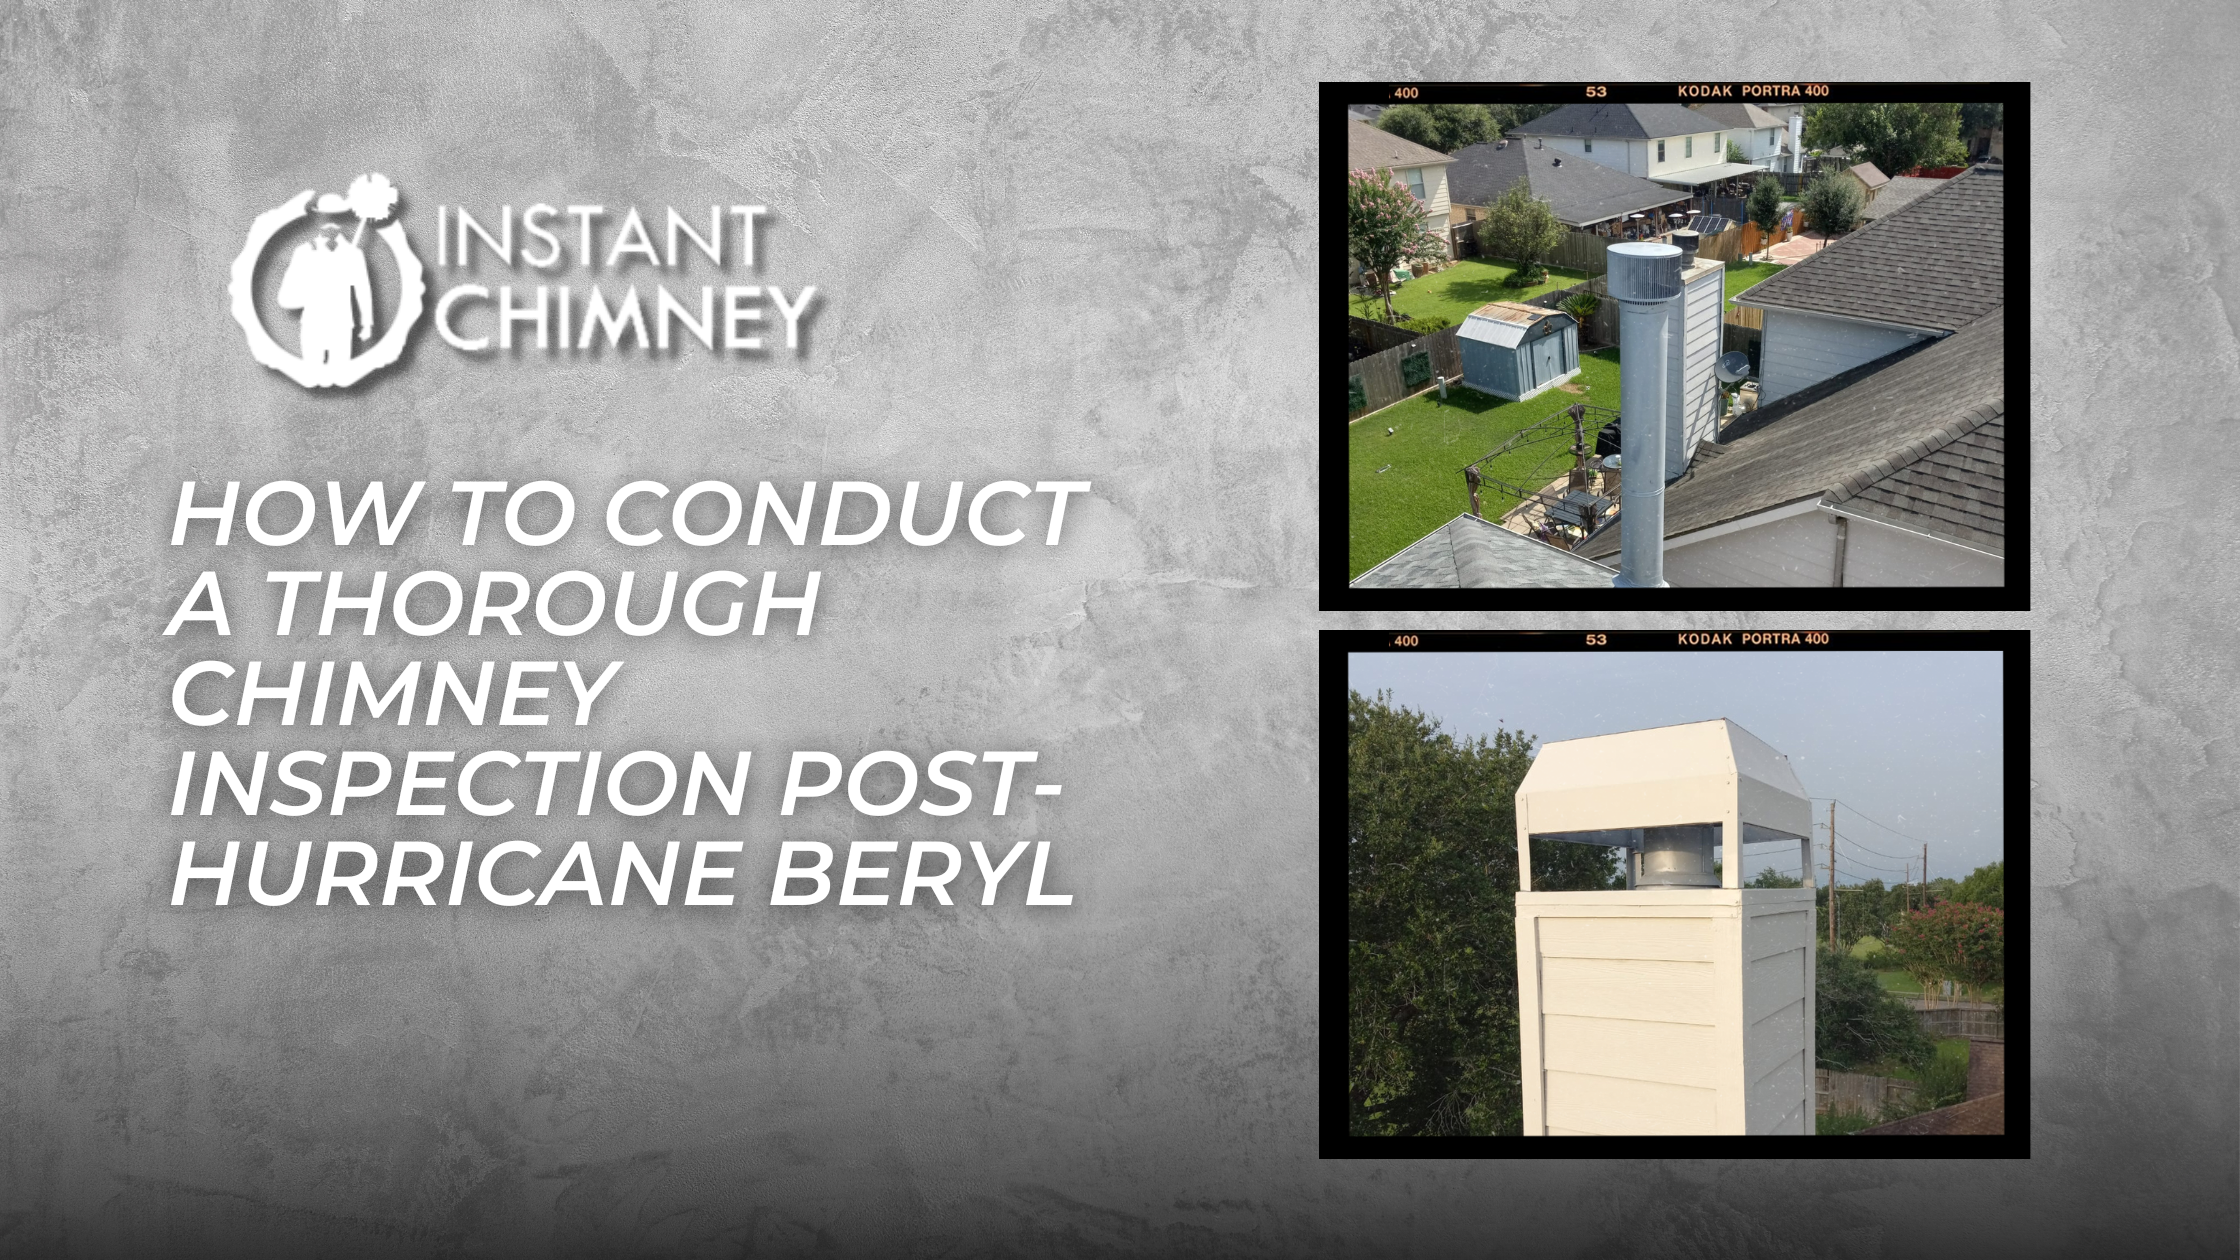
Hurricane Beryl has left many homes in need of careful inspection and repair, and your chimney is no exception. Conducting a thorough chimney inspection is crucial to identifying and addressing potential problems that could compromise the safety and functionality of your home. At Instant Chimney Services, we are committed to helping you ensure your chimney is in optimal condition. This step-by-step guide will walk you through how to conduct a comprehensive chimney inspection after a hurricane.
Step-by-Step Chimney Inspection Guide
Step 1: Prepare for the Inspection
Gather Necessary Tools
Before you begin, gather the tools you will need for the inspection:
- Flashlight
- Binoculars
- Ladder
- Gloves
- Dust mask
- Chimney cleaning brush (if needed)
Safety First
Ensure you prioritize safety:
- Avoid climbing on the roof if it’s unsafe or if you’re not experienced.
- Use binoculars for a ground inspection if necessary.
- Wear gloves and a dust mask to protect yourself from debris and dust.
Step 2: Conduct a Ground-Level Inspection
Visual Check
Start with a visual check from the ground:
- Look for any visible signs of damage, such as cracked or missing bricks, damaged mortar, or a leaning chimney.
- Use binoculars to get a closer view of the chimney top, checking for loose or missing chimney caps and other structural issues.
Check for Debris
Inspect the area around your chimney for fallen debris such as branches, leaves, and other materials that may have accumulated during the storm.
Step 3: Inspect the Exterior Chimney Structure
Ladder Inspection
If it is safe to do so, use a ladder to get a closer look at the chimney’s exterior:
- Check for cracks or spalling bricks, which can indicate structural damage.
- Examine the mortar joints for signs of deterioration or gaps.
- Inspect the flashing around the base of the chimney for any damage or displacement.
Step 4: Inspect the Chimney Cap and Crown
Chimney Cap
Ensure the chimney cap is securely fastened and free from damage. The cap prevents rain, debris, and animals from entering your chimney, which is crucial for maintaining proper ventilation and safety.
Chimney Crown
Check the chimney crown for cracks or damage. The crown is the cement part at the top of the chimney that seals the space between the flue liner and the chimney edge. A damaged crown can allow water to seep into the chimney structure.
Step 5: Interior Chimney Inspection
Fireplace and Firebox
Move inside to inspect the fireplace and firebox:
- Look for any cracks or damage to the firebox.
- Check for signs of water damage, such as staining or efflorescence (white, powdery residue).
- Ensure there is no soot buildup, which can indicate ventilation issues.
Flue and Smoke Chamber
Inspect the flue and smoke chamber using a flashlight:
- Look for blockages, such as nests or debris.
- Check for creosote buildup, which is a highly flammable substance that needs regular cleaning.
- Ensure the damper operates smoothly and seals properly.
Step 6: Professional Chimney Inspection
Schedule a Professional Inspection
While a homeowner inspection can identify many issues, it’s essential to schedule a professional chimney inspection for a thorough assessment. Our experts at Instant Chimney Services have the tools and expertise to identify hidden problems and provide comprehensive solutions.
Step 7: Address Identified Issues
Structural Repairs
If you identify any structural damage, such as cracked bricks or deteriorating mortar, schedule repairs promptly. Structural issues can compromise the stability of your chimney and pose significant safety risks.
Cleaning and Maintenance
Regular cleaning and maintenance are crucial for chimney safety:
- Remove creosote buildup and debris to ensure proper ventilation.
- Install or secure chimney caps and repair or replace damaged flashing.
Waterproofing
Apply a waterproof sealant to protect your chimney from future water damage. Ensure the flashing is correctly installed and in good condition to prevent water infiltration.
Conclusion
Conducting a thorough chimney inspection after Hurricane Beryl is essential for identifying and addressing potential problems. By following this step-by-step guide, you can ensure your chimney remains safe and functional. Remember, while a homeowner inspection is valuable, a professional inspection is crucial for a comprehensive assessment. At Instant Chimney Services, we are dedicated to helping you maintain a safe and resilient home.
Contact us at 832-459-3634
to schedule a professional chimney inspection or repair service. Visit our website for more information on our comprehensive chimney care solutions. Let Instant Chimney Services help you ensure your chimney is in top condition after Hurricane Beryl. We’re here to provide the expertise and support you need to keep your home safe.